7/20/2006
by Bill Wade
Getting ready to work on one so I thought I would take some pictures. Will add the "after" pictures later on.
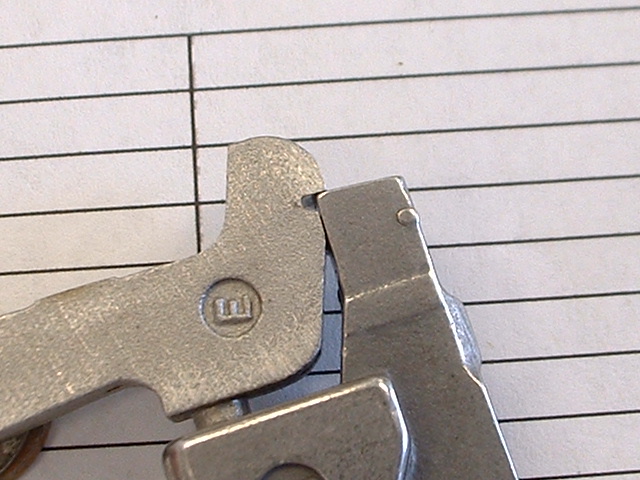
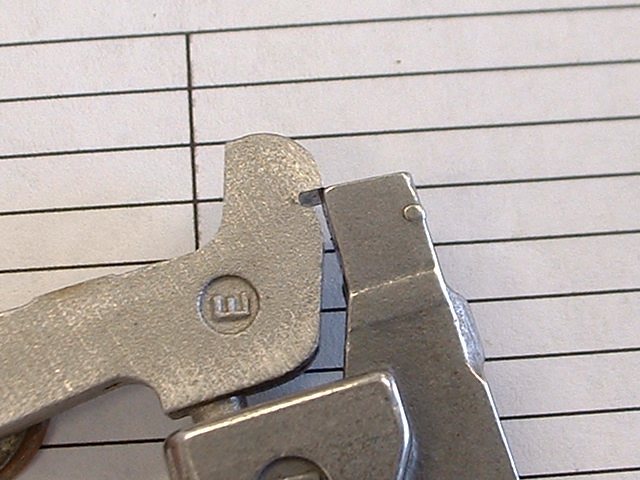
I fastened the trigger and sear to a block of wood. and set a dial indicator on top of the sear in an attempt to measure the lift. It showed a couple of thousandths movement upward when the trigger was pulled.
If you look closely, you can see the rise in the sear between the 1st and 2nd picture. The camera was not moved.
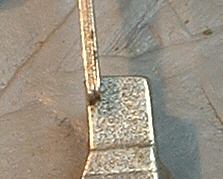 This is a trigger with
a .040 feeler gauge laying on it. .040 is not a lot of material to remove.
This is a trigger with
a .040 feeler gauge laying on it. .040 is not a lot of material to remove.
I did not scale the trigger pull before the project but after everything was said and done, it came in at just over 3 pounds.
I found another spring the right diameter but made of thinner material. Snipped it to a length just a little longer than the factory spring and tried it out. Dropped the pull to just over 2 pounds. I did not leave this spring in because I think 3 pounds is light enough for a "hunting" rifle. But it did prove to me that it could easily be reduced to under 3 pounds.
Comments from a site visitor:
A couple of things you may consider adding;
· Although adjusting the angle of the trigger where it meets the sear is critical to reducing the weight of trigger pull (trigger no longer lifting sear after this adjustment is made). Some adjustment to engage the safety mechanism may be required.
· Don't make the 45 degree bevel on the trailing edge of the trigger where it meets the sear too pronounced, otherwise bump firing when closing the bolt may result (happened to me). The 45 degree bevel is just taking the sharp edge off, that's all.

Last Modified: Monday, November 12, 2012 10:02 AM