
1/32 Scale Slot Car Racing
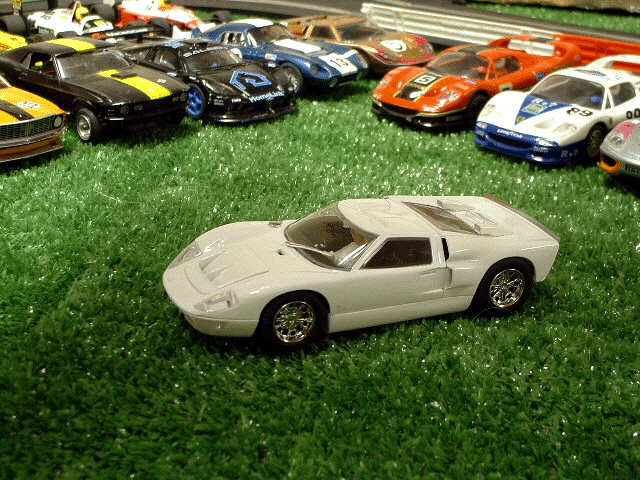
Scalextric GT40 Paint Project
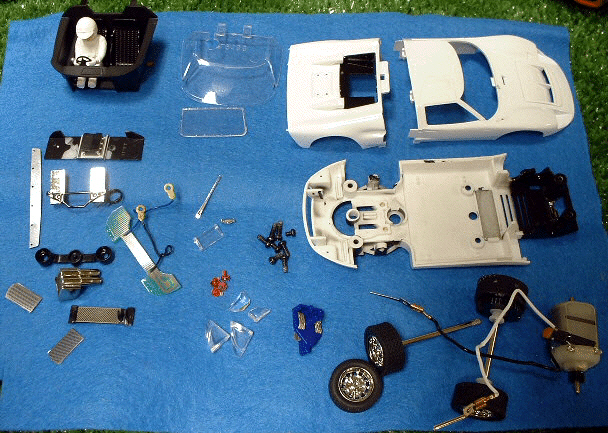
Taking the GT40 apart presented a few challenges but nothing that could not be overcome. The biggest problem was removing the rear spoiler. You know the one that pops off in the first crash. I was being very careful not to break off the little nipples that stick through the spoiler. Not making any progress, I finally got one corner to lift with a razor blade. Long story short, when the blade slipped, I stopped and counted my fingers. Only one of them was cut but not enough to bleed more than half a drop.
Looking back at the car, it was obvious that I had also trimmed off 3 of the nipples. Yea, lucky. No "lucky" would have been if the spoiler came off easily. I suggest crashing the car once, you won't bleed and the spoiler can usually be found in the carpet somewhere.
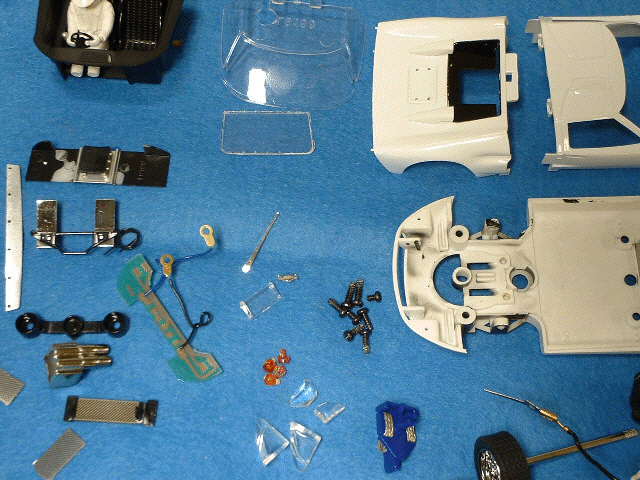
Once I regained my composure, I finished removing the remaining parts. No real tricks to it except I used a jewelers loupe. It is easier to spot the glue this way and you know exactly where to cut or lift on the part. I did not remove the intake vents from the rear deck. They look like they are stuck there pretty good and since I had been "lucky" so far, I decided not to push it.
I grabbed a piece of very fine sand paper and knocked down the ridges left from the factory molding process and any other spots that did not look quite right. For instance, the drivers rear quarter panel kind of had a slight curve outward where it met the back tail light panel. It did not look like the other side so I made them match.
Moving on to the super fine steel wool, I went over the body completely and then checked again with the jewelers loupe. Polished out any little nicks or rough spots and was good to go. I took it to the sink and scrubbed it all down with hot soapy water. When it has had plenty of time to dry I will be ready to prime it and get started with the rest of the project.
This one is to be painted as a road car with only stripes and no decals. Like the one on my Christmas list at my local Ford dealer. Hey, a man's gotta dream ! Ok, maybe I won't get one but you think they would at least let me take one for a spin around the block ? Really Sir, I'll be right back, scouts honor. Did that with a Mustang GT once. What a rush, 80 in 3rd. The wife didn't want a V8 and since it was to be her car, the rest is history. She lets me drive it once in a while :)
UPDATE:
I think I will re-title this project: "How to Screw Up a brandnew car"
The first thing to go wrong with the painting process was the primer fisheyed. You know the little holes in the paint that appear as soon as the paint lands? All 3 sections of the body/chassis ended up with some sort of fisheye or wrinkle in the paint.
OK FINE
While the primer was drying, I went out on the net to do some research on the cause of fisheyes. In summary, either oil in the paint or oil/wax on the surface.
Back to the instructions written by David Lawson, "Once all the decoration is removed wash the body in a strong solution of washing up liquid and brush it all over with an old toothbrush....." A step I skipped/forgot.
In my research on the net I discovered that sanding prior to washing only imbeds the oils and waxes in the surface, it does not remove them.
When the primer was dry, I sanded out all the fisheyes and wrinkles and was ready to shoot on another coat or two of primer.
That went fine. I let it dry a couple of hours and started painting. After 2 or 3 coats I realized that I was not going to get good coverage on sharp edges. I don't know why, but it wasn't working and the color stunk. It was not the color I had hoped for and was not looking very sharp.
I decided to run to the hardware store for paint stripper. None of the paint strippers specifically said "ok for plastic". So I went to Hobby Lobby. The only thing they had read that it was "ok for fiberglass". I figured if I tried it on some scrap plastic then I would know.
It did not seem to effect the plastic I tried it on so I headed for the sink with the body parts. It worked fine on the chassis section, you know the part you don't really see a lot of. Then I tried it on the upper front body section.
Long story short, if I can salvage this car at all it will be a miracle. I know that it will never look as good as it should but it may look too bad to drive in public.
The paint remover worked fine on the paint but eventually got into the plastic and made a mess of things. So much so that I started adding up what the remaining parts would be worth if I needed to use them on my other GT40's.
I will update again and let you know how it turns out.